The shoulder is a strong and remarkably mobile joint, essential for a wide range of motion and everyday movement. At the heart of it sits a small but crucial connection known as the acromioclavicular (AC) joint. This joint, where your collarbone meets the highest point of your shoulder blade, takes on quite a bit of stress, especially if you’re an athlete, a fitness enthusiast, or someone recovering from a shoulder injury.
When the AC joint is injured, even simple movements can become painful. While treatment varies depending on severity, one popular method of support and pain management is AC joint taping.
Understanding the AC Joint
The AC joint is a small yet important structure located at the top of the shoulder, where the clavicle (collarbone) connects with the acromion (part of the shoulder blade). It helps you move your shoulder and lift your arm, especially when reaching or lifting overhead.
Injuries to the AC joint are typically caused by a direct blow to the shoulder, often seen in contact sports like rugby or football, or by falling onto an outstretched arm. These can lead to a sprained AC joint or even a more serious issue called a shoulder separation. The symptoms usually include localized pain, swelling, a visible bump, and reduced mobility. Learn more about what happens in a shoulder separation and why AC joint taping might be a helpful addition to your recovery strategy.
Benefits of AC Joint Taping
So, what’s the purpose of taping for AC joint support? It’s not a miracle cure, but it’s definitely a supportive ally. For starters, it can help reduce discomfort by offloading stress from the joint. Many people report relief from sharp, localized pain when the joint is taped correctly. Taping acts like gentle shoulder strapping, encouraging better posture and controlled movement, which helps reduce strain on the injured area.
Stability is another key benefit. Especially during early recovery or during physical activities, a taped joint feels more secure. As one Australian sports medicine resource notes, "Wearing protective strapping to support a previously injured AC Joint, particularly in contact sports or sports where full elevation of the arm is not so important,” can be a smart move. It’s worth noting that while taping offers support, it does not replace proper rehabilitation, nor can it fully heal an AC joint injury on its own.
Taping AC joint structures is also popular as a proactive, supportive measure. For those regularly involved in activities that involve heavy shoulder use, like weightlifting or overhead sports, taping can provide gentle reinforcement to the joint. And while it won’t prevent injuries altogether, it’s an easy, non-invasive tool to incorporate into your routine for added security.

Types of Tape Used for AC Joint Taping
When it comes to taping, there are two main types commonly used: rigid sports tape and kinesiology tape, like KT Tape. Rigid sports tape is what you typically see on athletes — white, non-elastic, and strong. It’s great for holding the joint in a fixed position, ideal for people who want maximum restriction to reduce further aggravation during sport or strenuous activity.
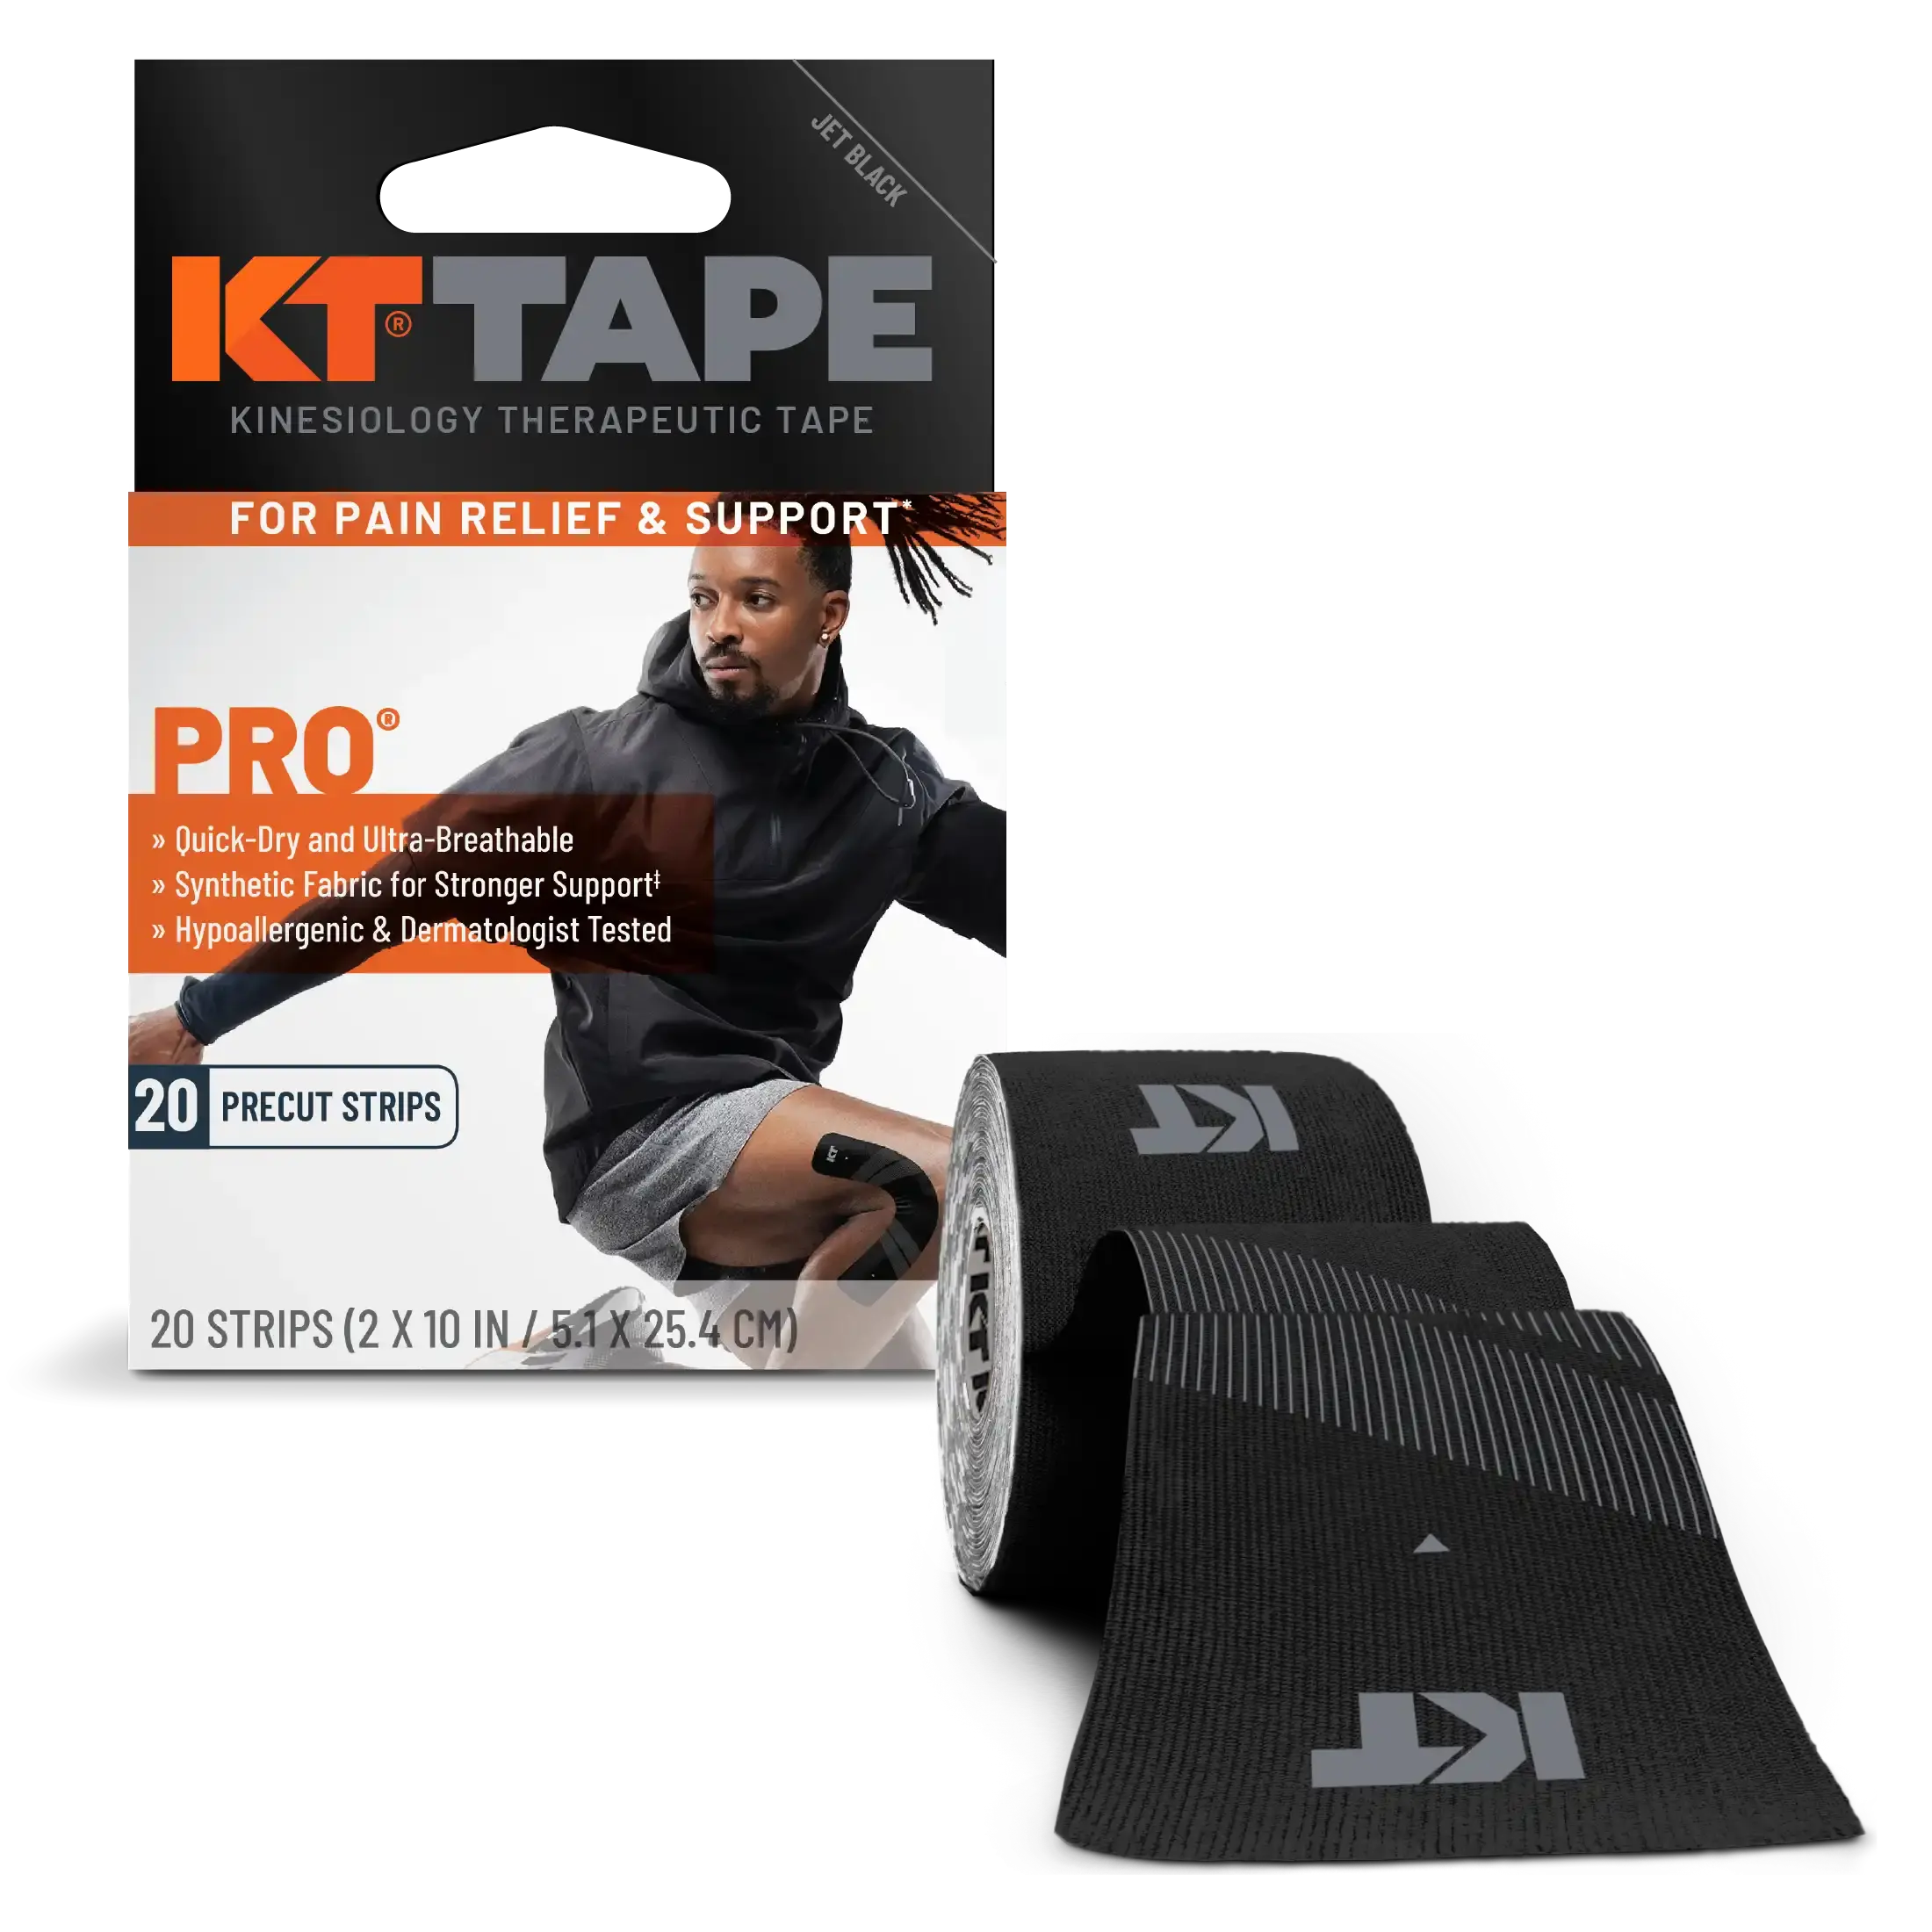
Kinesiology tape, on the other hand, offers a more flexible and dynamic form of support. KT Tape, for instance, is designed to stretch with your body, giving you support without completely limiting movement. This makes it particularly well-suited for the AC joint, where mobility and support must go hand-in-hand. KT Tape also adheres well to the areas of the neck and shoulders, ensuring comfort throughout wear. For many people, especially those in active rehab or training, KT Tape is often preferred due to its versatility.
Step-by-Step Guide to AC Joint Taping
Before taking a closer look at this AC joint taping technique, let’s talk prep. You’ll need clean, dry skin that’s free of oils or lotions for the tape to stick well. It’s helpful to trim any body hair around the shoulder to prevent discomfort when removing the tape later. If you’re using KT Tape, you may want to pre-cut the strips or use the pre-cut versions available online.
For rigid tape application, start by placing an anchor strip horizontally across the top of the shoulder, just above the AC joint. Then, apply support strips from the front of the shoulder to the back, crossing over the joint diagonally to create downward pressure. Continue layering the strips for added support, making sure not to wrap too tightly, as this can restrict blood flow. Finish with another anchor to hold everything in place. This method provides strong structural support and is often used during sports.
Now for the KT Tape method— a favorite among active individuals who want reliable support while still moving freely. Start by cutting a strip long enough to extend from just below the AC joint to a few inches above it. Round the corners for better adhesion. With the arm relaxed and the shoulder in a neutral position, place the center of the strip directly over the AC joint with no stretch. Then apply light tension to the ends and lay them down smoothly along the front and back of the shoulder.
Next, add two smaller support strips forming an “X” pattern across the AC joint. This AC joint separation taping cross-pattern adds targeted reinforcement while still allowing movement. Want a visual demonstration? Here’s a detailed guide on how to apply tape on your AC joint.
Post-Application Care
After taping, press the tape gently to ensure it adheres well, especially at the ends. Avoid showering or intense sweating for at least an hour after application to let the adhesive set. KT Tape is designed to be water-resistant and can typically be worn for three to five days. If the tape starts to peel early, you can trim the loose edges or reapply as needed.
If you’re wondering whether you can tape your own shoulder—yes, many people do. However, for more complex injuries or first-time applications, having a second pair of hands or consulting a physical therapist can be really helpful. This ensures proper tape placement and the right amount of tension, which can make all the difference in comfort and effectiveness.
Precautions and Contraindications
Like any supportive method, taping isn’t for everyone. Avoid applying tape to broken, irritated, or sunburned skin. Some people may experience allergic reactions to the adhesive. If you notice redness, itching, or discomfort, remove the tape and consult a healthcare provider. Also, if your shoulder pain worsens or if you’re unsure about the severity of your injury, get checked out by a medical professional. AC joint taping can be a great complement to recovery, but it’s not a substitute for proper diagnosis and treatment.
Keep in mind that taping does not heal a joint sprain or separation. It helps manage symptoms and supports movement during recovery. For severe cases, especially Grade III shoulder separations or dislocations, medical intervention is often required.
Additional Supportive Measures
AC joint sprain taping is just one part of the puzzle. Rehabilitation exercises can do wonders for shoulder strength and function. If you’ve suffered from an AC joint injury, integrating targeted AC joint exercises into your routine can speed up your recovery. These might include isometric holds, gentle shoulder retractions, and rotator cuff work—all of which should be introduced gradually and under guidance if possible.
Shoulder braces can also be used in tandem with taping, particularly during the early stages of recovery or when engaging in higher-risk activities. They provide added compression and limit extreme movements that could aggravate the joint. For sore, overworked shoulders, consider hot and cold massage therapy to reduce tension and promote circulation post-workout.
The Bottom Line
Taping AC joint injuries isn’t just for elite athletes or those recovering from a major injury. It’s a practical, accessible method for anyone looking to support their shoulder during movement, reduce joint pain, or feel more confident getting back into action. It doesn’t matter if you choose rigid sports tape for solid stability or KT Tape for dynamic support, the key is proper application and combining it with other recovery strategies like rehab exercises and rest.
Understanding your body is the first step toward recovery. Taping is just one tool in your kinesiology toolkit, but when used correctly, it can play a meaningful role in your journey toward better shoulder health and mobility.

Written by KT Tape Team
The KT Tape Team is a collective of passionate experts in kinesiology, sports medicine, athletic training, and fitness innovation. United by a mission to empower movement and recovery, the team brings together decades of experience working with athletes—from elite professionals to weekend warriors—across a wide range of sports and activity levels. Through rigorous research, collaboration with healthcare professionals, and feedback from real users, KT Tape has developed a line of products trusted around the world for pain relief, support for injuries, athletic recovery, and empowering movement. Whether it's developing application guides, supporting major sporting events, or advancing the science of movement, the KT Tape Team is committed to helping people stay active, recover effectively, and perform at their best. KT Tape isn’t just a product—it’s a movement, and the team behind it is here to support yours.